by Dan Fattorini
Roast pork… For me it’s the king of the roasts; moist, flavourful and just so moreish. With the current price of pork it’s great value too. But the crowning glory of the pork roast is the crackling. With guests awaiting their Sunday roast, it can be a nervous process delivering that tasty, crunchy rind to expectant diners. With this technique I wanted to share with you the secret to effortless, brilliant-every-time, perfect, light, crunchy and copiously adjective-filled crackling. It takes a little time but it’s easy and well worth the effort…
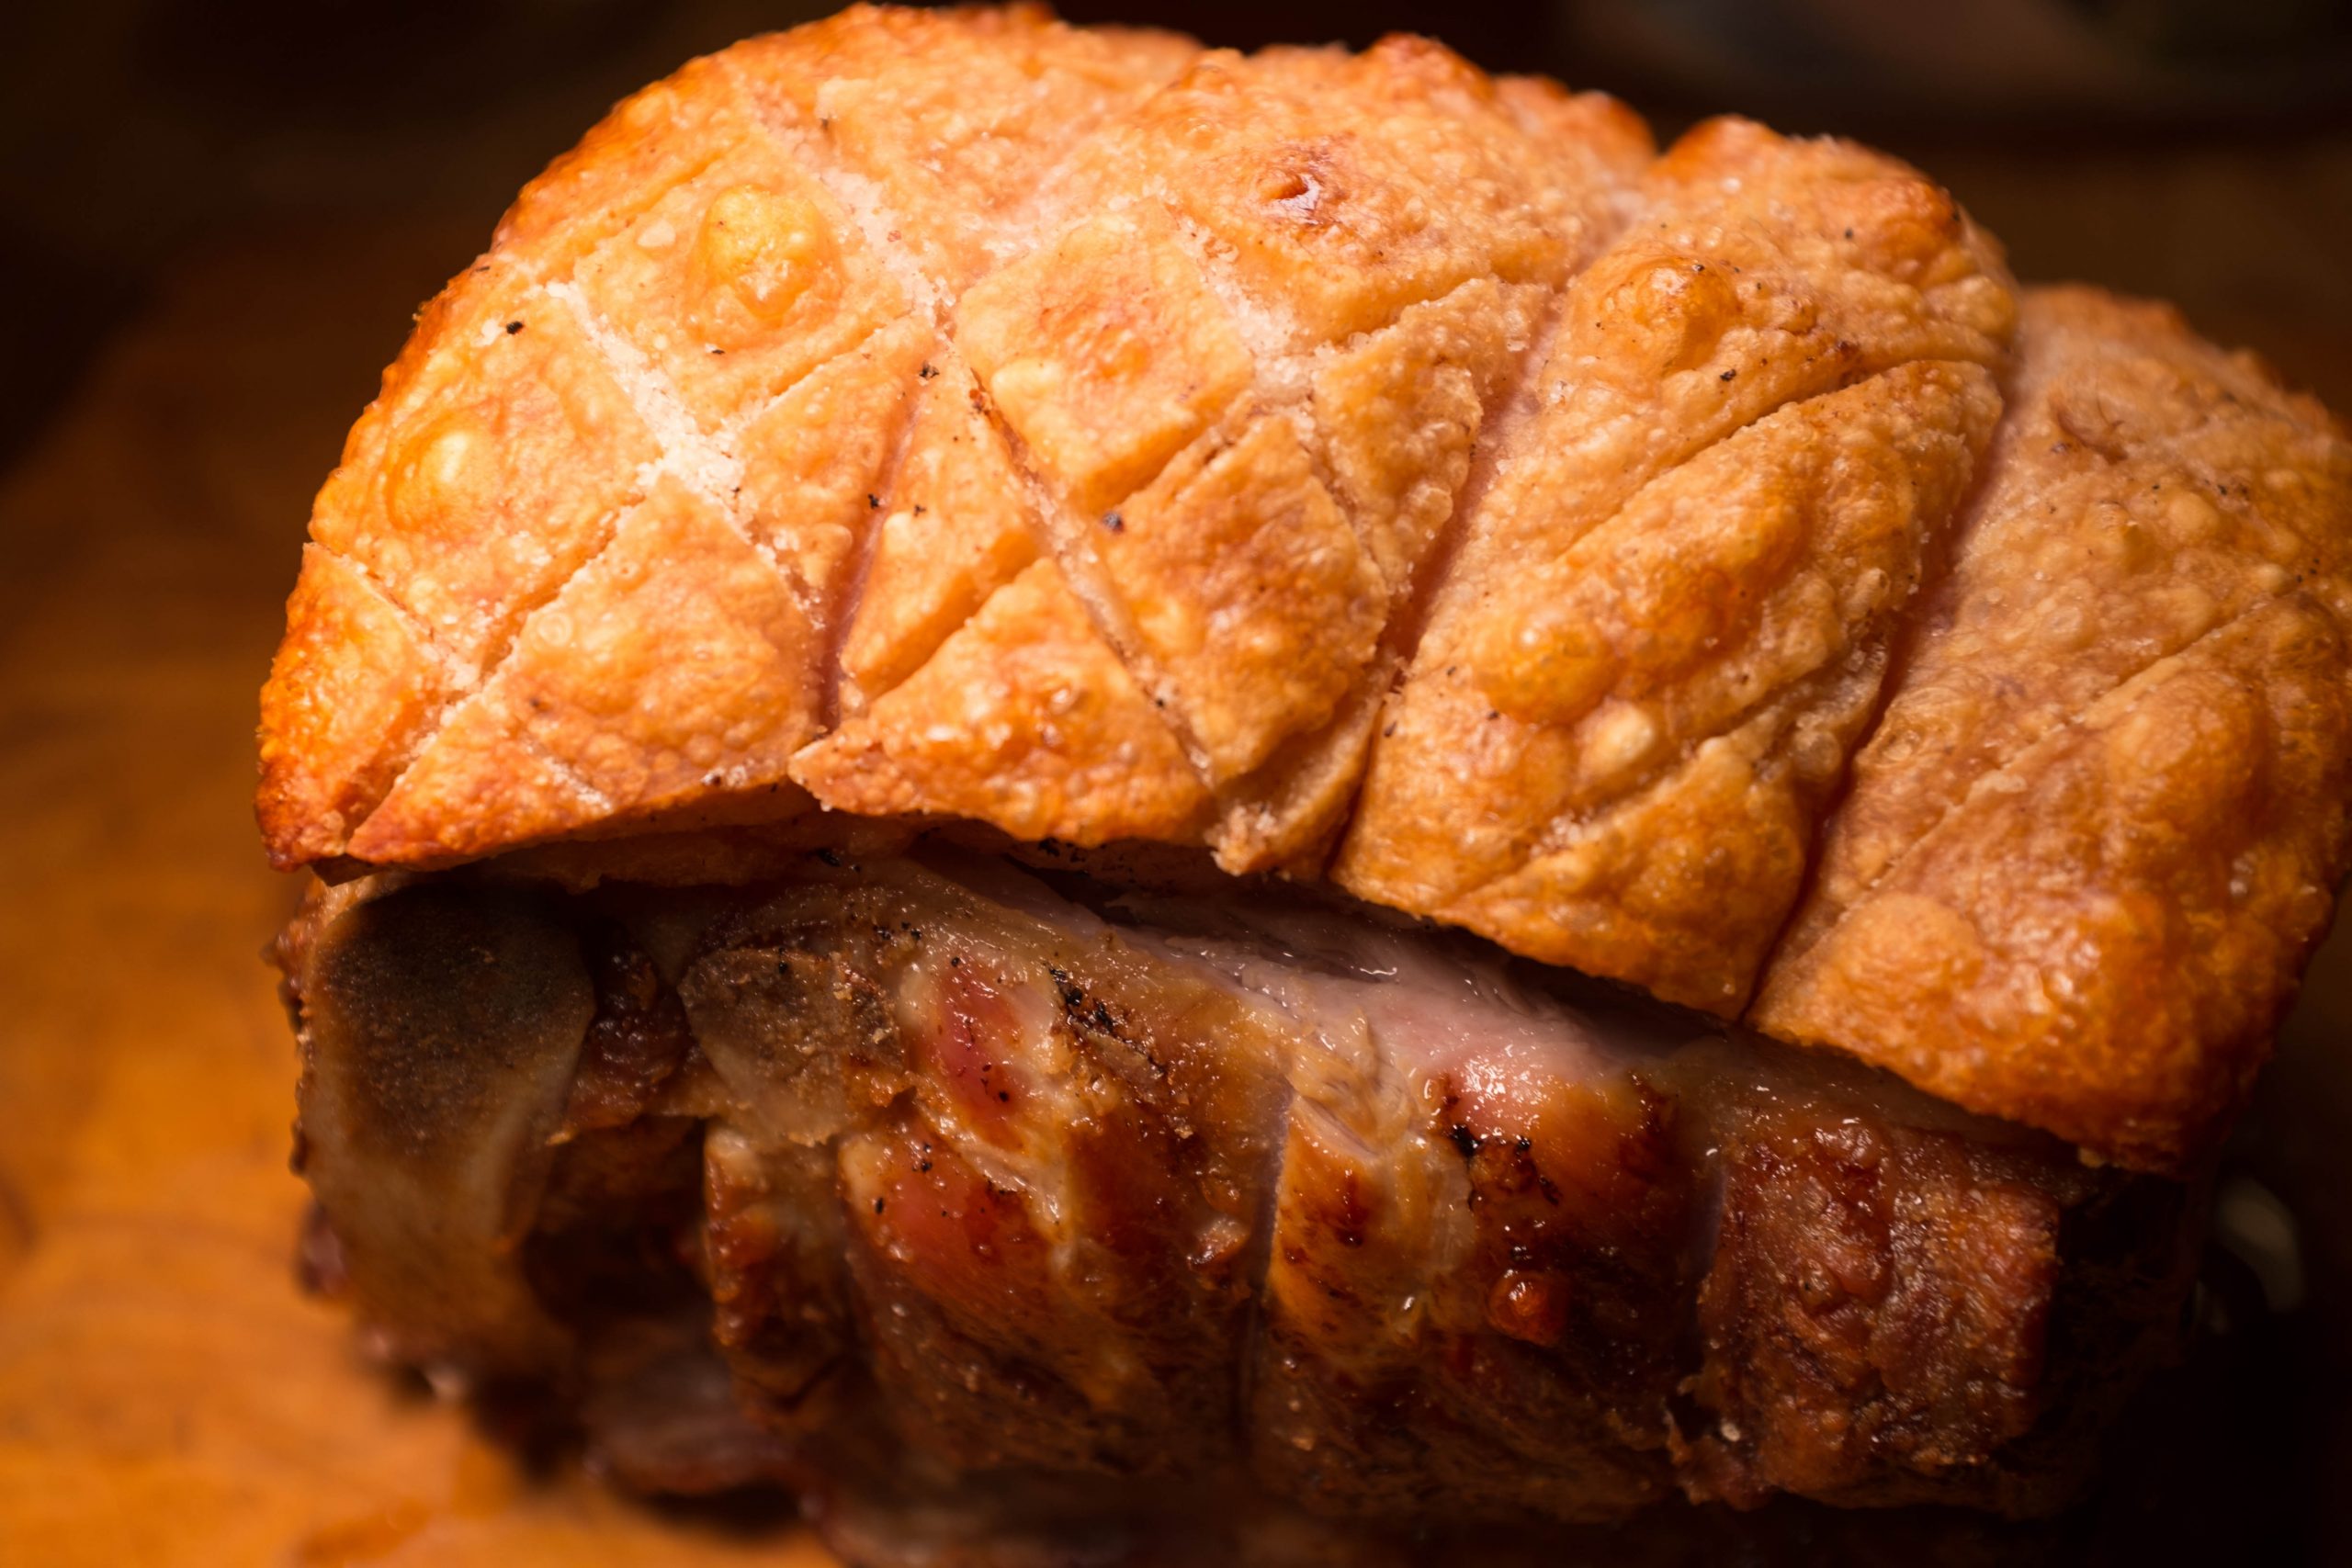
We’re blessed with many good independent butchers in Bedford. For this roast I made the trip to Browns of Stagsden. They sell meat grown on their own farm and butchered by themselves, thus you can really identify with a local product, reared with care and having no more food miles than a return trip to the abattoir! They rear Large Black and Saddleback pigs in Bedfordshire countryside, producing a really tasty meat that’s carefully and responsibly sourced. I chose a beautiful loin of pork on the bone, chosen from the shoulder end for more flavour with the bone carefully chined by the butcher.
Crackling is crunchy because the water in the pork rind gets driven out and the hot fat cooks, puffing out little chambers of air, turning the otherwise unpalatable pig skin into a crisp delight. To reliably ensure we can make the perfect crackling, it just takes a few simple steps. Firstly, you need to start about a day in advance. For a Sunday roast, have your meat the day before. The rind should be scored by your butcher or by yourself. Firstly, we want to start by taking the meat out of any kind of packaging; your pork has been sitting in open air inside a large butcher’s fridge until now, once it becomes enclosed in plastic packaging it’s then sealed and absorbing water and steeping. We want to avoid this, we want a dry, crispy coating.
The process from here is quite simple. About a day before you plan to cook it, rub plenty of salt into the skin, around a heaped teaspoon for a family joint. This starts to cure it and you will notice water being exuded fairly quickly. We want to remove this moisture gradually to leave a dry rind. Very roughly, try and follow a process of patting it dry and re-salting again, first after an hour, then after two, then after four, then after eight. This way you will follow the gradually reducing process of curing.
A few hours before you’re ready to cook, place the joint on a tray in your sink and take a full kettle of freshly boiled water and gradually pour over the skin. This will make it shrink. You can then pat dry with kitchen towel and reapply a last coat of salt to the it. All the while, leaving the joint uncovered. Finally, when you’re ready to cook the joint, carry out one final pat dry with kitchen towel, sprinkle a pinch of salt and pepper over the skin and then drizzle with oil. I used a Bedfordshire rape seed oil which takes high temperatures very well but basic vegetable oil will do. Massage the skin with your hands to ensure an even coating then pop into a very hot oven; about 220C. After around twenty minutes check the joint. You should be looking for the whole skin to have crackled up with little bubbles. Once it has achieved this, reduce the temperature to 180C and cook until done. I like to measure done-ness using a meat thermometer, with around 67C being my target temperature for a prime pork joint like loin or leg with a little higher at 75C for a cut like spare rib or shoulder. You must then rest the joint for around twenty minutes while attending to the veg and trimmings. After which you can sit back and taste porky perfection